

- Joined
- Jul 4, 2018
- Messages
- 4,657
- Likes
- 4,087
- Points
- 248
Tutorial | All to create a proper thread
Follow this tutorial to be sure your thread will be approved ")
Thread
★ Thread must be in English.★ For a Custom Firmware/Font/Resources/Watchface thread, this one must contain:
⤳ Preview pictures (It can be real pictures, part of Resources pictures, Watchfaces gif preview, ...).
⤳ Credits if all isn't from you.
⤳ Download link.
File Download Button & Files
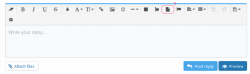
★ Create file download button:Click where you want add your file download button in textarea.
1. Above textarea, click on "".
Now you can see your file download button added where you clicked in textarea!
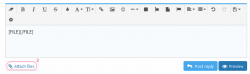
★ Add file(s):
2. Below textarea, click on "Attach files" button.
Select file(s) you want add then wait for it/they be fully downloaded.
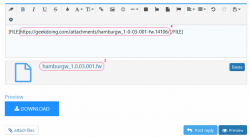
3. Right click on file name then "Copy link address".
4. Click where you want put your copied link adress in textarea and paste it.
Links
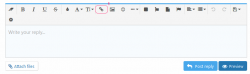
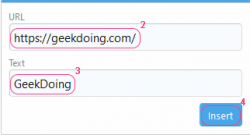
★ Create link:Click where you want add your link in textarea.
1. Above textarea, click on "".
2. Write url you want.
3. Write text you want.
4. Click on "Insert" button.
Now you can see your link added where you clicked in textarea!
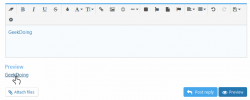
⤳ If you select text in textarea then click on "", you will transform selected text into link.
⤳ You can also create link by doing "Ctrl+k".
Spoiler & Pictures
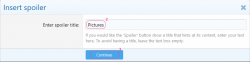
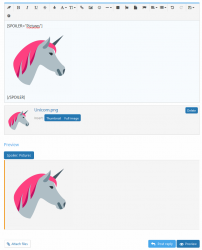
★ Create spoiler:Click where you want add your spoiler in textarea.
1. Above textarea, click on "..." then "Spoiler".
2. Write title you want.
3. Click on "Continue" button.
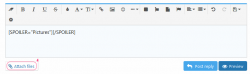
Now you can see your spoiler added where you clicked in textarea!
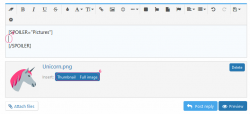
★ Add picture(s):
4. Below textarea, click on "Attach files" button.
Select picture(s) you want add then wait for it/they be fully downloaded.
5. Click where you want add picture in textaera.
6. Click on "Thumbnail" button to add picture thumbnail, else "Full image" button to add picture in real size.
Now you can see your picture added where you clicked in textaera!

⤳ You can also add picture(s) by clicking on "" above textarea or by doing "Ctrl+p".